
The Ultimate Guide on Vendor Booth DIY Pegboards 🧰
- Addie

- Jul 7, 2022
- 5 min read
Updated: Jul 16, 2022
Look no further for the ULTIMATE DIY for creating your dream peg boards for your next trade show, craft show, or any other fun event! 🥳 I have all the materials you will need, mistakes not to make, and how to get through this as easy as possible. I am so happy you are here! 💕
Growing up and DIYing before buying, I am your go to girl for this project.

What's in this guide:
We aren't messing around here! You can click on these sections below to get to where you need to go fast. I hate this too but read this through before starting so that you can work in the order that is best for you! Some things can be cut before drilled and vice versa.
What's Needed for DIY Pegboards
The Plan on Paper
Getting your Supplies
Measuring and Marking your Boards
Start Drilling and Cutting!
Sanding, Sanding, Sanding
Ta Da!
What's Needed for DIY Pegboards

Materials:
Large 3/4" thick board or plywood that won’t splinter (We used two 4x8' 3/4" birch boards)
Dowels (We used five 48" long 3/4" diameter dowels)
Wooden boards for shelves (We used one 1"x6" 12' board to make 12 shelves)
Sandpaper (either some that you can use by hand or for your Orbit Sander)
Tools:
Power Drill
Portable Drill Guide (or make sure your drill has a level so your holes are drilled straight)
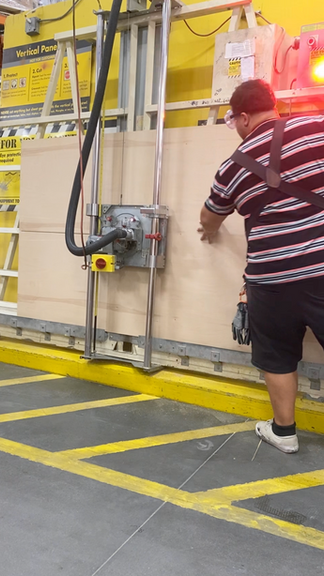
Miter Saw (we had Home Depot cut some of the boards for us too!)
Spade Bit (same size as your chosen dowels, so we used 3/4″)
Orbit Sander (something like this DEWALT one, makes things go faster)
T-square and/or ruler
Wood Clamps (these are optional but you can drill your holes 2 boards at a time if you have them, I wish we would have had these but again you can do without)
Measuring Tape
Pencil
The Plan on Paper
So I wanted these large pegboards for my upcoming trade show that I could customize each time I used them and large enough to display tons of Sassy Merch AND see them across the room. This was the original plan knowing that I could get my hands on 4x8' 3/4" birch boards.

The dotted lines are the cuts that are going to be made on these 4x8' birch boards to make 4 boards that are 7 feet tall and then the 8 "legs" from the extra foot cut ultimately cut off the ends. The extra foot off the ends are then cut in half again later to make 2 legs for each board, the dotted pink lines.
Getting your Supplies
We went to Home Depot and found two 4x8' 3/4" birch boards. They will cut these boards for you and it's a no brainer!
We had them cut these 4x8' birch boards in half longways, making four 2x8' boards, and then cutting the bottom foot off each.👇🏻


Ending up with four boards measuring 2x7' and four boards measuring 1x2' that will ultimately be cut in half to become the eight legs. 👇🏻 The pink dotted lines is what we will just cut at home with the chop saw.

Measuring and Marking your Boards
This is what I came up with on Procreate on my IPad👇🏻so if you are doing the same size boards just use this! It works great for spacing and looks great too.


👆🏻 With pencil, we marked where we were going to drill the holes for the pegs by marking 6" from the top and then in 6" increments down all the way to 66" for 11 rows of pegs. We did this 2x marking on each side of the board.
Then we drew lines across by connecting our marks, making sure they were straight with a T-square or a long level. 👉🏻
Using the measurement guide above again, mark where you are going to drill each hole for the pegs. It's 3" from the edge, 6" to the next, 6" to the next, and then 3" from the other edge. If you are using a measuring tape across mark at 3", 9", 15" and 21". 👇🏻

Start Drilling and Cutting!
Drilling
You can do this a few different ways. I would recommend using a drill guide to ensure that your holes are straight and your pegs will be perfectly perpendicular to the board. Others use a drill that has a level at the base and in that case you would watch it like your life depends on it to make sure it's straight. 👍🏻

To cut down on time you can also stack two boards at once and clamp 🗜 them together so you are not only marking just half the boards but also cutting your drill time in half.
Now you can put your drill in the drill guide and using your 3/4' spade bit start drilling the holes that you marked. 👉🏻
Cutting
You are going to need to cut the following things with the Miter Saw:
Your Wooden boards for shelves
We used one 1"x6" 12' board to make 12 shelves. Simply mark in 1' increments and you will end up with 12 foot long shelves.
Your dowels
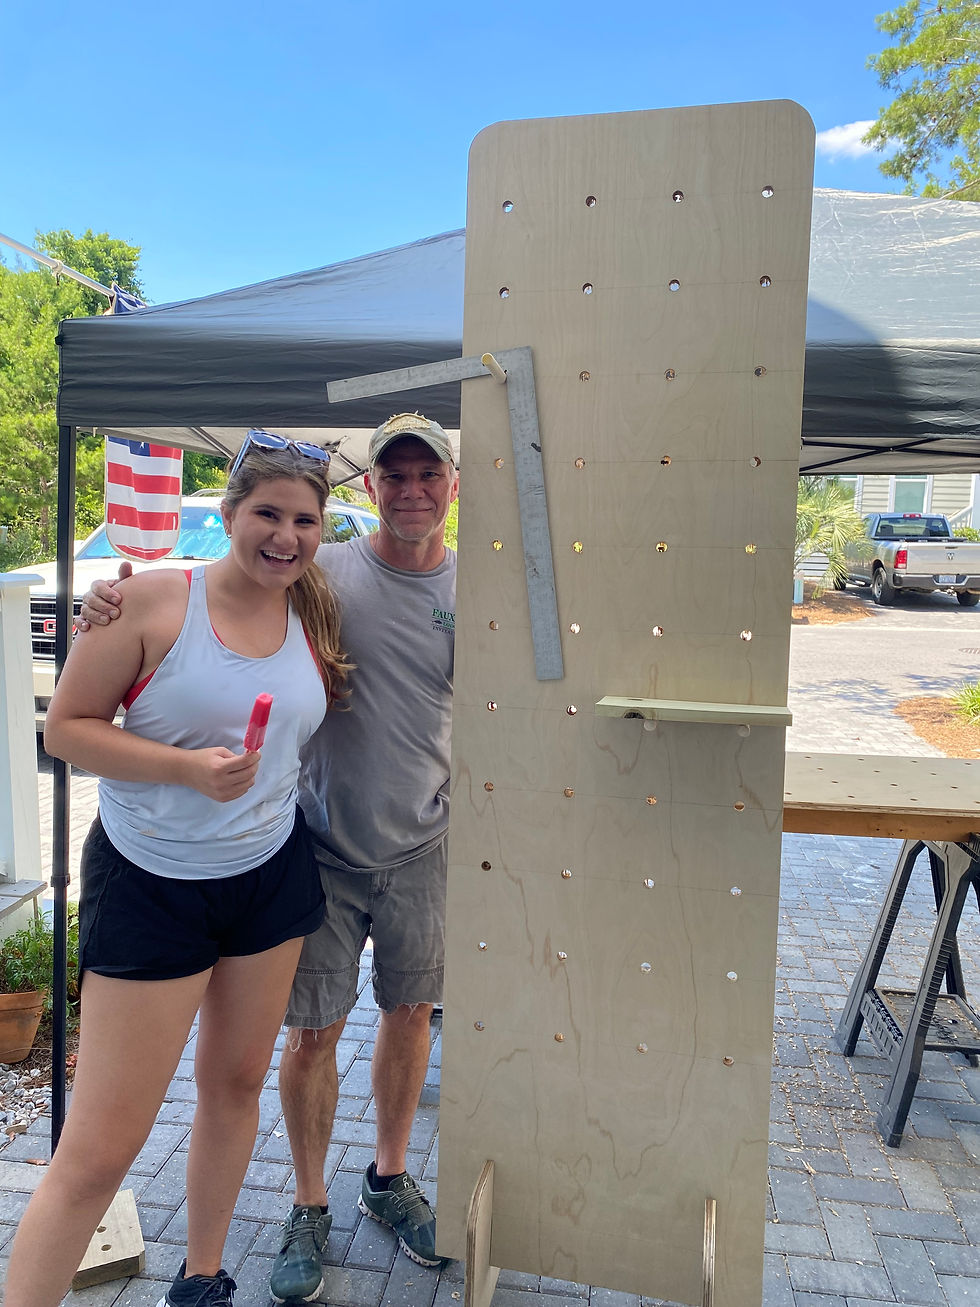
We had five 48" dowels that we cut into eight 6" pegs each. Then poof, you have 40 pegs. That is all I needed to support 12 shelves with 2 pegs each (24 pegs) and have 16 left over to hang merchandise from.
The four extra 1' boards off the ends for the legs
With the Miter Saw, just cut these in half, the pink dotted lines, so you end up with 2 legs for each of your 4 boards. 👇🏻

You are going to need to cut the following things with the Jigsaw:
The 8 legs and the main 4 boards so they can nest and stand
This one is a bit of a mind teaser for me and I end up swimming in circles. But NO WORRIES for all my fellow visual learners here is the picture I have to explain it! 👇🏻

You want to cut about 1/2" wide 4" slits in both the two legs and the board. 👆🏻
Once cut they will nest together and stand upright. 👇🏻
Rounding the edges with the Jigsaw.
This is a personal preference and a finishing touch but I love how it finishes off the boards and legs. I used the sandpaper disk to mark the edges on all the boards and the top of the legs round and then we cut it with the jigsaw. 👇🏻
Sanding, Sanding, Sanding
Now for the final step in the building process!
Use the Orbit Sander to sand:
The edges of all the boards, especially the areas that you just cut with the Jigsaw.
This is easy and can be done by hand but you just want a smooth finish!
The back of the pegboards
Our boards did splinter a bit when we drilled the holes but it was all good because nobody is seeing the back and it's all good if there are imperfections where nobody can see!
Ta Da 🥳
This is the final product before all the glitz and glam of paint! If you want to learn more about how I painted these boards and the supplies I used head to my latest TikTok post! 💕


Comments